Peaches Flambéed

There’s just something about dessert and booze?

Am I right? Am I right?

I think I am.

When I was younger if ever there was a dessert that thought had liquor in it I would savor each bite, convincing myself that the boozy flavor was in fact getting me tipsy. Much as I tried though, I never started to feel the telltale symptoms of being drunk. Poor little Kristina, I was just tryin’ to have a good time.

Despite my cravings for said boozy desserts the one after dinner treat I never tried was Bananas Flambéed I can’t for the life of me figure out why since I am all about sticky sweet bananas cooked in brown sugar, butter, and let set aflame with the help of rum or brandy. I mean, I totally get why people are obsessed with them. So why the hell haven’t I ever tried them?!

It’s a real mystery.

For those of you who don’t know, Matt doesn’t like desserts too much. He’s a fan of ice cream but not much else. He’s just not a sweets kinda guy, when I make cookies, I purposely put less sugar and try to add nuts and raisins so that they are more his style. Which is fine – more for me – but I thought to myself, maybe, just maybe, he would indulge in a little dessert that included booze. Plus, he’s sick right now, so I wanted to do something to make him feel better, cause that’s what doting girlfriends do when their boyfriend, who-only-gets-sick-once-a-year gets sick.

So I made him Bananas Flambéed and wouldn’t you know it folks, he loved it! Like big ol’ smile on his face fighting me for the plate of it love it. Oh man, I was tickled.

The trick to getting your non-sweet loving boyfriend to like flambéed fruit is to make it as non-sweet as possible, but putting it over some crusty crispy sourdough bread for instance and by adding some not to sweet vanilla ice cream. The bread ended up being the best addition ever, it soaked up some of the sauce but still provided the texture and flavor contrast necessary to keep a sweet dessert from becoming cloyingly sweet. (Even I don’t like desserts like that).

Well, we still had extra rum from my first attempt and I was craving peaches, so I started thinking, what if I made Peaches Flambéed? I was willing to bet it would be just as tasty, if not tastier. So I ran to the corner market and grabbed a couple yellow and white peaches, for variety, and scooted back home to make it and take pictures before it got too dark.

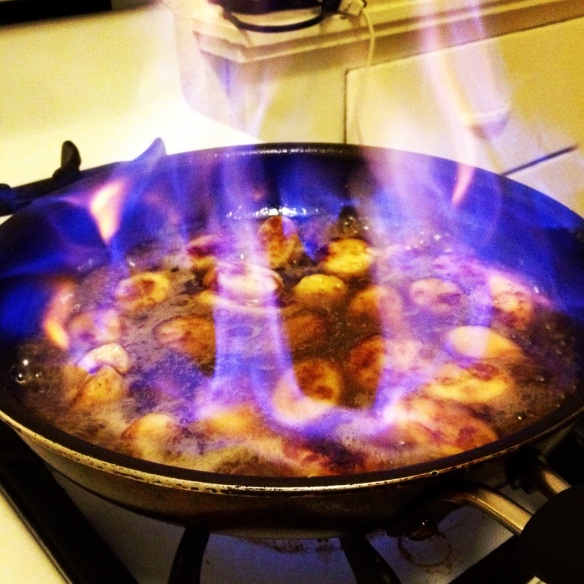
*On that note – the above photo was taken at night, so you can really see the flames, however the other photos I have of the peaches were taken during the day so the flames don’t look quite as brilliant, I apologize my friends.

What you’ll need:

2 Peaches, one white, one yellow (or two of the same)

1/2 stick butter, plus enough to smear on the bread

1/2 cup brown sugar

1/2 cup rum, preferably dark

1/2 tsp cinnamon

1 slice of sourdough bread

Vanilla ice cream

What to do with it:

Slice peaches into medium sized strips – not too thick, cause that will be awkward to eat, but not too thin cause they will get mushy after being cooked too long

Heat pan on medium and add butter, allowing to brown EVER so slightly

Add brown sugar, let simmer

DON’T turn your back for a second to go check on your sick boyfriend, your sugar will burn and look like this. It’s a proven fact

Add peaches and cinnamon, to your not burned bubbly buttery sugar sauce, let them simmer for just a few minutes

While they are simmering though, lightly butter both sides of the bread and crisp up in another pan

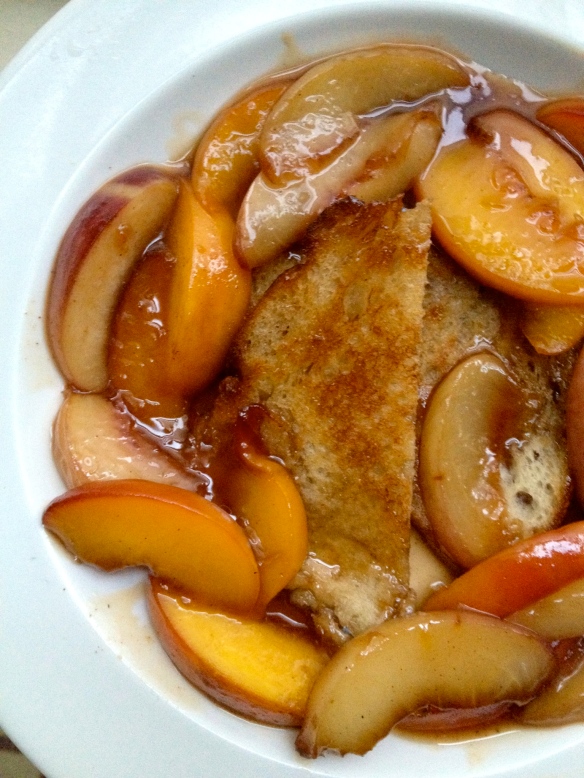
Cut the crispy bread in 2 pieces and arrange at the bottom of a shallow bowl

Now its time for the real fun…

Remove the simmering pan from the burner that’s on – THIS IS THE MOST IMPORTANT STEP

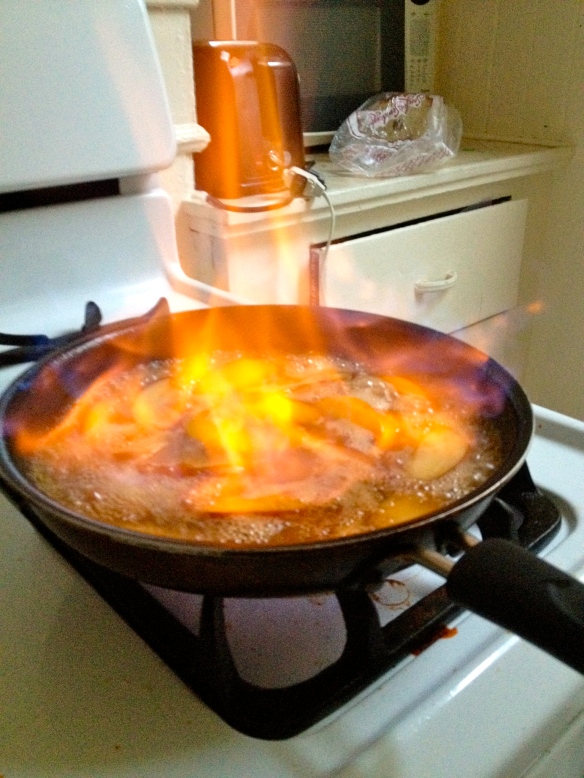
Once its off that burner, pour the rum into the pan and THEN put it back on the flaming burner, tilting the pan slightly so that the flame may jump to the liquor. Watch it ignite!

It will flame for a minute or so, during which you can leave the pan alone, when it’s done flaming you can start plating, which should look a little something like this


What’s my verdict? Bananas are amazing, dense, and hold up to the butter rum sauce deliciously. But peaches, well peaches work with the sauce, taking it in and becoming something so damn delightful I just wanted to squeal like a little girl.

I did prefer the yellow peaches to the white in this recipe, though most of the time I am partial to white. So, you try both and figure out which one you prefer!

Now, if you’ll excuse me, I still have a few more peaches around here somewhere
Rhubarb Pie and Grandma

Hello all,

Today I want to talk about my grandma, and about pie.
Mostly because they have to do with each other in my story, but also cause grandmas and pie usually go together, don’t they?

So here’s my story, I hate pie.

The crust is dry or burnt or flavorless more often then it is not. The filling has a tendency to be overly sweet, mushy or it tastes like the fruit is from a can that’s been hanging out in the back of the pantry, saved in case of apocalypse or something worse – like seriously not having anything else to eat and you’re on the verge of starvation.

Like I said, I’m not a fan of pie.

EXCEPT when it’s my grandma’s pie (cliche, I know).
I swear though, nobody does pie better than my grandma, Pauline.


Maybe it’s because she grew up on a farm full of fruit orchards in Canada with a big family full of hungry boys, and nothing warms you up like a hearty slice of pie in cold weather.

Maybe she makes such gosh darn good pie because when she grew up she went and had a big family (this time full of girls) and worked as a nurse so making pie was a good way to unwind after a long day of work and taking care of all her little ones.

Maybe, it’s cause now her 5 kids have all grown up and gotten married and had tons of babies themselves and the staple of every family gathering are Grandma’s pies.

Basically has had to stay on her pie game her whole life.

I have been thinking lately though, that if my grandma can make excellent pie, then maybe I can too. I might just have that pie making gene stowed somewhere in me.

She makes a most wonderful apple pie, a mouthwatering crusty and crispy pecan pie, pumpkin pie with filling so smooth and topped with leaf shaped crust pieces that will make you squeal with delight, but my absolute favorite pie is her rhubarb.

Rhubarb is divinely unique and not the most common of pies, its bitter when uncooked but addicting and tart when cooked and is absolutely positutely my favorite of Grandma’s pies.

So, while I was in LA for a few days for my dad’s birthday I cornered my granny with a pie cutter and said “Lady, you better give me your recipe for Rhubarb pie or I’ll slice you and put you in a pie!”

OMG I’M TOTALLY KIDDING

It really went more like this “Granny, you make the best pie in the whole gosh darn world, would you share your most delectable recipe for Rhubarb pie so that I may continue the family tradition.” Then granny smiled with her adorable, non-dentured, smile and said “Oh of course, honey girl!” That’s what she calls me, honey girl. I love my grandma.

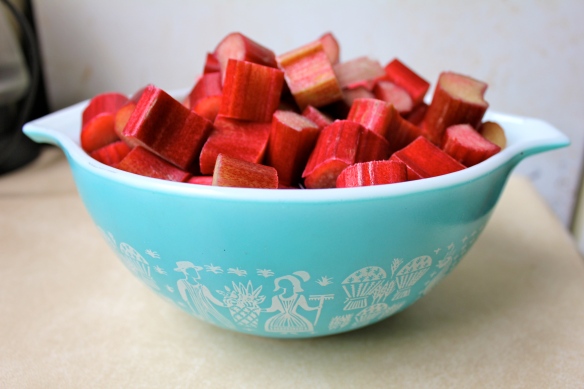
Sidenote: I incidentally recently painted my kitchen table a color named “Rhubarb” and while slicing the stalks for the pie I decided to gauge just how well it matched

God damn that’s a match!

Moving on

What you’ll need:

For the most buttery and flaky crust:

2 1/2 cups flour, plus a little extra for rolling

1 stick of butter, cubed and frozen

1 tsp salt

1 tsp sugar

8 Tbs water, ice cold

For the luscious filling:

5 cups Rhubarb, chopped into 1 inch pieces

1 1/4 cup sugar, I used brown sugar

1/4 cup cornstart

2 Tbs lemon juice

1 tsp ground cinnamon

1/4 tsp salt

1 1/2 Tbs butter

What to do with it:

For the crust:

Combine flour, sugar, salt in a food processor and lightly pulse

Gradually add in the cubed frozen butter. I’ve learned that frozen butter is the secret to excellent pie crust. Pulse until the butter hunks are the size of your pinky nail

Now add the water, 1 Tbs at a time keeping watch of the dough’s consistency (flour has different absorbancy levels, so while I needed all 8 Tbs, you may only need 6 or 7). You want the dough to just stick together when you press it together between your fingers

Take the dough and squish it on the counter under your hands to break up the butter a little more to encourage that, oh so, desirable flaky crust

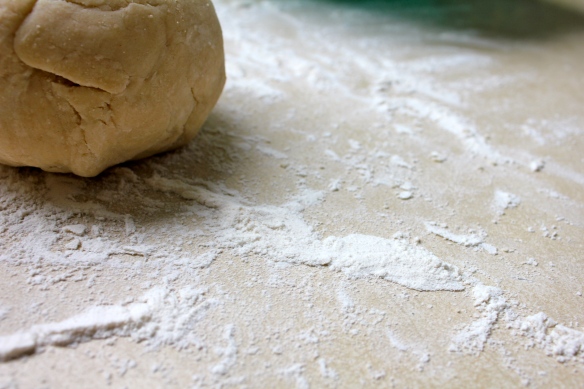
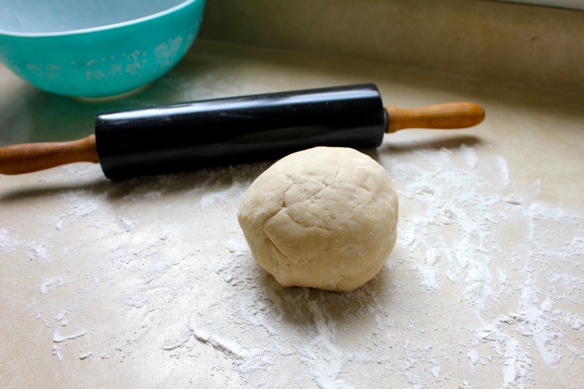
When you’re done smushing it around roll it into a ball and cut in 2 pieces then form those into 2 flat patties

Dust the two pieces with flour, wrap in plastic wrap and set to chill in the fridge for a little more than an hour

Once the hour is up, take out and let them soften for about 5 minutes…chill and then soften? I know, just do it

Take a floured rolling pin and roll out one patty on a floured surface until it is about a foot across, the edges don’t have to be perfect as you will be trimming them anyway

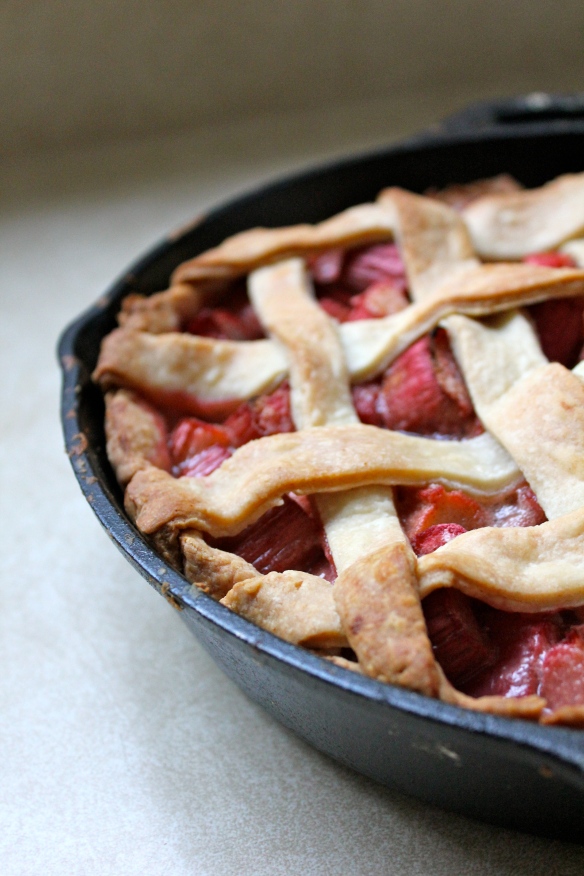
Fold in half and place inside your baking dish, I used my cast iron skillet since I don’t actually have a pie pan

Gently unfold to fill the pan and press into the edges

For the filling:

Preheat oven to 425

Place chopped Rhubarb into pie crust

Mix together sugar, cornstarch, salt, cinnamon and lemon juice in a bowl

Drizzle over rhubarb and gently mix around with your hands to coat

Dab with pieces of butter

Cover with the other patty of crust, that’s been rolled out, of course

You can cover the pie in a few ways, the coverall method in which case you would slit holes in the top to allow it to breath

OR the rustic way where you cut the rolled out dough into 1 inch strips and weave it – that’s what I chose to do

If you opt for this method just pinch the ends together with the bottom crust to close it off

*DON’T do what I did and forget to add 1 cup of the sugar – the copy of the recipe my granny gave me is old so the 1 1/4 cup sugar looked like just 1/4 cup. So there I was thinking to myself “God, who says pie is unhealthy, there’s only a 1/4 of a cup of sugar!” And anyone who has had unsweetened rhubarb can imagine my surprise when I first sampled a teeny bit of the filling through the pie crust. So there I was with an almost baked pie that was pretty nasty. In the event you did do that here’s the fix: take the extra 1 cup and mix with the tiniest amount of water to make it pasty and painstakingly drip it through the slots of the pie top. Then slosh the pie around with enough force to mix the filling, but not spill it. It’s an art, my friends, and I am here to say that I think I have mastered it.
The conclusion: The pie was delicious, the filling had texture and was tart yet sweet, and crust that wasn’t dry, overall a huge pie success for my first time.

But there’s just something about grandma’s pie.

Fresh Ricotta

If you had to pick your favorite food group, which would you choose?

Carbs are pretty wonderful

Salty sweet snacks like chocolate covered pretzels are addicting in a really scary way

But in my opinion, nothing pulls at my heart strings more than cheese does

Soft cheeses like fresh pulled Mozzarella, smooth and sour Chevre, rich Mascarpone, subtly sweet Buratta, whole milk Ricotta, tangy goat’s milk Feta, and creamy, oh so creamy, Brie. Not to mention hard cheeses like cave aged Gruyere, smoked Gouda, sharp Cheddar, and thinly grated Parmesan

If I could spend my life making and testing cheeses I would choose this career above all else. Probably.

I would also like to name paint colors – but I’ll save that story for another day.

Since I have had more free time this summer, I tried my hand once again at cheese making. Remember when I made Chevre?

I thought I would try again with a soft cheese so I set my sights on Ricotta.

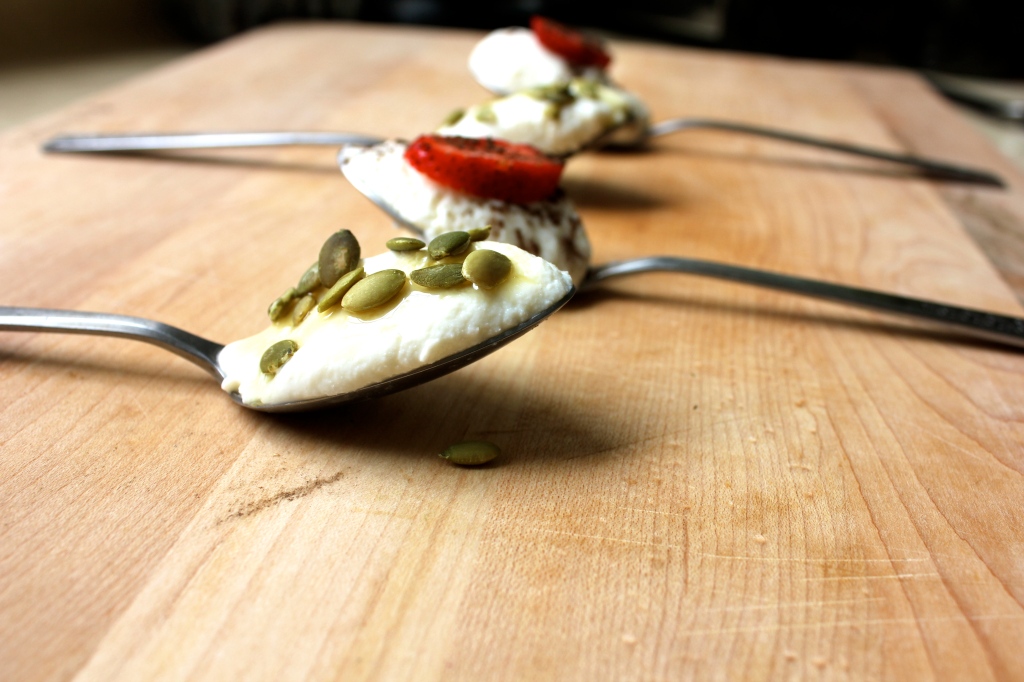
Sweet Ricotta Spoon Bites – 1. Ricotta, Sliced Strawberry, and a dash of Dark Chocolate Cocoa Powder 2. Ricotta, Salted Pumpkin Seeds, with a drizzle of agave nectar

To make: Mound fresh ricotta into a Tablespoon or teaspoon, depending on your preference. Slice strawberry on the diagonal and place on top. Sprinkle dark chocolate cocoa powder on top for that finishing touch!

To make: Mound fresh ricotta onto Tablespoon or Teaspoon. Cover top of mound with lightly salted pumpkin seeds. Drizzle with agave nectar or honey – depending on your preference!

Why ricotta? Because pretty much every store bought ricotta is really flavorless, grainy, clumpy mush disguised as ricotta. And this is me putting my foot down.

Before embarking on my experiment, I did a little research on different cheese making techniques, types of milk, the differences in using white vinegar to curdle the milk versus lemon juice. I did this all while I was supposed to be helping Matt make a glass rack for our developing home bar. He was all like “hey get off the computer and help me saw these pieces of wood” and I was all like “CHEESE IS MORE IMPORTANT THAN LIFE.”

So we compromised.

I grabbed my laptop and sat in the backyard with him, all the while complimenting his sawing skills.

So here’s what I learned about ricotta making

Milk Options:

First off, try to use organic milk when at all possible, most stores offer it these days and organic dairy means no added hormones. That being said, let’s continue.

Raw, unpasteurized milk will produce the most curds. And it’s the closest you will get to milk fresh off the farm. This is the most expensive milk, and it is often times hard to come across, but I believe it will give you the best chance at making good cheese because of its pure form.

UHT Milk (Ultra High Temperature), milk that has been heated to 275 degrees, should NEVER be used because the pasteurization process has killed every shred of life in the milk. Using this kind of milk will kind you tiny weak curds that don’t stick together.

Pasteurized milk is your best option if you’re on a budget, or if you don’t have access to raw milk.

Acid Options:

Buttermilk is a good option, other than the fact that you need to add a significant amount to make your milk curdle. 1 cup of butter milk to every 4 cups of milk. So what? This just means that your cheese will end up having a distinct sour tangy flavor, which isn’t necessarily a bad thing, unless you are planning to use the ricotta in a sweet application or if you just don’t want your cheese sour.

Lemon Juice is one of the most popular choices, and I have used it many times due to the fresh flavor it imparts into the cheese. But there are a few arguments against using it as well. First, because not all lemons were born equal due to growing conditions and the variety of the fruit, their acidity levels can vary greatly creating a guessing game about ratios and leaving you will a potentially inconsistent product. Also, if you end up having to use more lemon juice your cheese will have a strong citrus tang – which is pretty delicious and lends itself to a ricotta that you will want to dress with fresh herbs and eat by the spoonful, but like with the buttermilk, this cheese won’t do your sweet dishes or your ravioli any favors.

White Vinegar is my favorite acid to use. It has a consistent acid level so the measurement will be the same every time. You also won’t have to use a significant amount so your ricotta will have an ever so slight tang, but not enough to overpower the gorgeous clean flavor of the milk.

Temperature Options:

Some people swear by a specific temperature of 180, which is all good and fine, but I have discovered that there is virtually no difference between 170-185. I just aim for 180 and hold it right around that temp.

Too much lower than 170 and the curds won’t set correctly, anything higher and you risk scalding the milk – and trust me, nothing is worse than try to clean burned milk from the bottom of a pan.

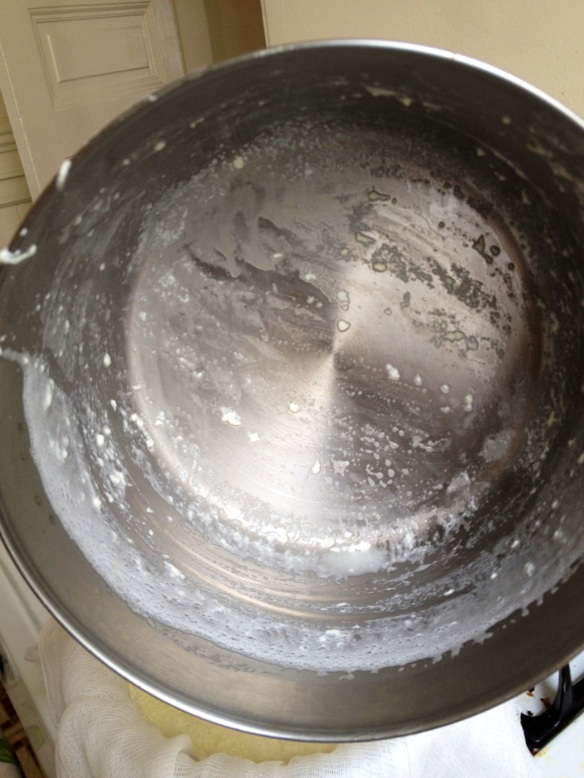
This is what you want your pot to look like, easy clean up means more time to stare at your baby ricotta curds.

Ok, now that I have given you all a brief lesson in cheese making, let’s get started!

What you’ll need:

1/2 gallon of milk

8 Tbs. Distilled White Vinegar

1 tsp. Salt

Cheesecloth

Thermometer

Colander

Pot

Bowl large enough to hold colander

What to do with it:

Place milk in a pot with your thermometer and heat on medium to roughly 180 degrees, this will take about 20 minutes

Make sure to stir every minute or so to decrease the chance of your milk burning on the bottom OR boiling over

Remove from heat and add vinegar, one tablespoon at a time, stirring gently

Add salt, stir once more, very carefully

Let sit for 5 minutes

Line a colander with cheesecloth and place inside a large bowl

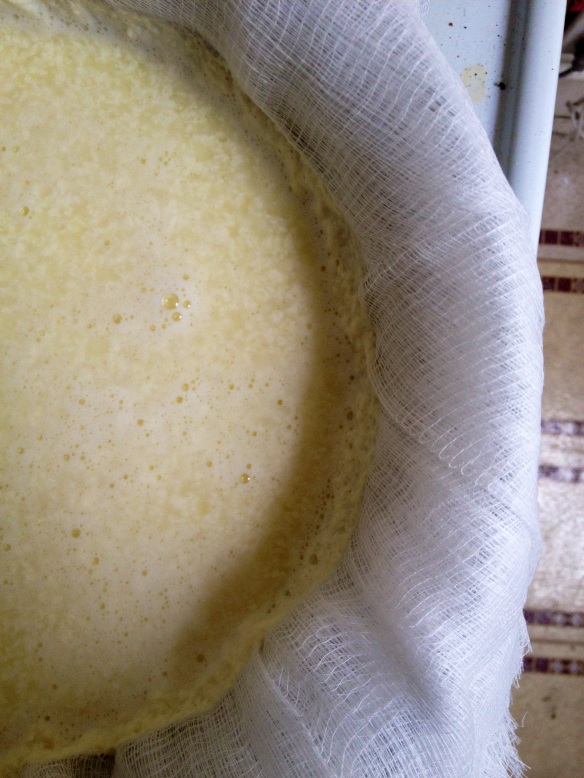
Slowly pour what is now curds and whey into the cheesecloth and allow the whey to drain for 20 minutes

I would say 20 minutes is the ricotta sweet spot, at this time you will have small, tender curds that will spread with ease and won’t be super runny. This is the ricotta to use in things like ravioli, lasagna, or on pizza.

For even softer cheese, only allow to drain for 5-10 minutes. This will give you extremely creamy ricotta that you will probably eat straight from the cheesecloth…and without a spoon. That’s how wonderful it will be.

If you want your ricotta to be super firm, let it sit and drain for about an hour. I haven’t ever let my ricotta sit this long, but from what I’ve read this is the best ricotta to use for pastries and gnocci.

Don’t let it drain for much longer than an hour otherwise you will end up with ricotta that is just too dry.

Tip: If you accidentally drain your ricotta too much for your liking, you can use some of the whey that has drained out to rehydrate your cheese. Simply pour it back over and allow to drain for just a minute. It’s not the perfect solution, but it definitely will improve your ricotta more than anything else.

You can also save your excess whey, because you will have a ton of it, and add it to your oatmeal for an extra protein boost. I’ve also heard of people mixing it with fresh pressed juice and even with powdered chocolate milk and Tang. I’ve never done any of these things, so if you do, please let me know what you think!

Sauteed Zucchini, Fresh Ricotta, and Lemon Rind
Get the recipe here

Homemade ricotta will last for about a week in the fridge…but mine has never lasted more than a day.

And I suspect yours won’t either.

Chocolate Coffee Cupcakes with Goat Cheese Frosting

Hey all!

Remember a few days ago when I posted that wonderful goat cheese pasta salad? Well, I made a promise to you guys that I would be posting the sweet yin to the savory yang of my goat cheese feast with Sohini and Kati.

This is me making good on that promise to ya’ll.

I present to you: Chocolate Coffee Cupcakes with Goat Cheese Frosting!

What? OMG? Is this real?

Yup, they happened.

I can’t take all the credit, cause that would be wrong. The recipe is one that I found on Saveur’s website, but Sohini and I tweaked the frosting a tad.

For the Cupcakes:

1 cup flour

1/2 tsp. salt

1/2 tsp. baking powder

1/2 tsp. baking soda

6 tbsp. cocoa powder

1 cup sugar

1/2 cup hot coffee

1/2 cup vegetable oil

1/2 cup milk

1/2 tsp. vanilla extract

1 large egg

You may notice, there is no butter in these cupcakes.

What?

No butter?

But, Kristina, you love butter!

Yea, I love butter, but hey, sometimes you can do without.

For the Frosting:

5 oz. cream cheese, softened

3 oz. goat cheese, softened

1 1/2 cups powdered sugar

Andddd, you can add a whole vanilla bean, halved lengthwise and scraped if you want, but Sohini’s vanilla bean happened to be really dry and it snapped in half while we were trying to scrape it, so we scraped the idea.

Let me tell ya, the frosting still tasted FANTASTIC.

What to do for the cupcakes:

Preheat oven to 350 degrees

Line cupcake trays

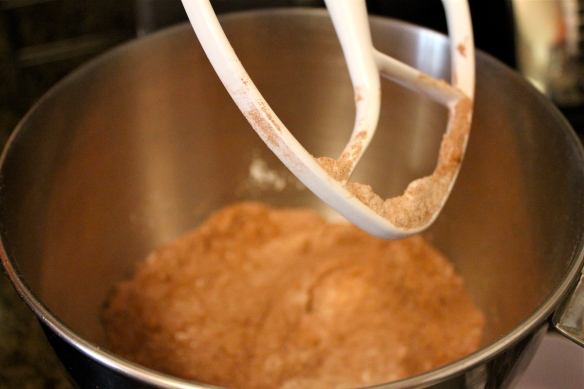
Whisk together all dry ingredients

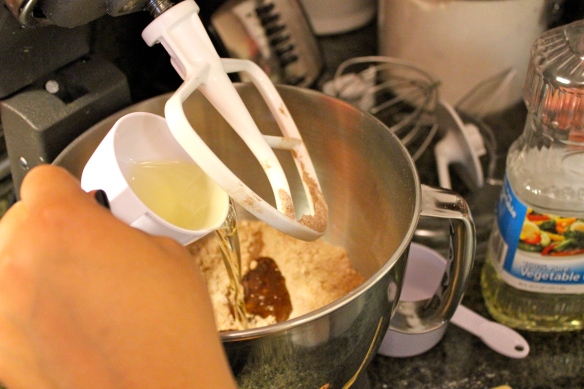
Add in the coffee, oil and milk

After that is well incorporated, then you can add the vanilla extract and eggs

Bake cupcakes for 20-22 minutes

Let cool

What to do for the frosting:

Beat cream cheese and goat cheese together with an electric mixer, or a very strong arm, until light and fluffy

Add powdered sugar, 1/2 at a time

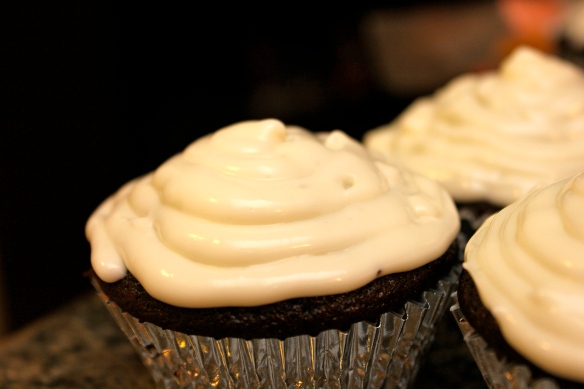
Once your cuppy cakes have cooled enough, slap that frosting on!

I didn’t have a pastry bag, so I just used a ziplock with the tip cut off

I think goat cheese frosting is my brand new favorite frosting. Its SOOOOOO much tastier than just cream cheese frosting. Don’t get me wrong, I love cream cheese frosting, but the goat cheese lightened up the frosting just enough to not be overwhelming or too sweet.

Yea, these cupcakes were devoured.

My First Days of Spring Break

Hello world!

I’m sorry its been a few days since my last post, I’m on my spring break right now and Matt doesn’t have school on Tuesdays so we headed out to his hometown to visit his dad for a few days.

Before we headed out, we made a quick breakfast of Goji Berry cereal with some sliced up Fuji apple, it was tasty!

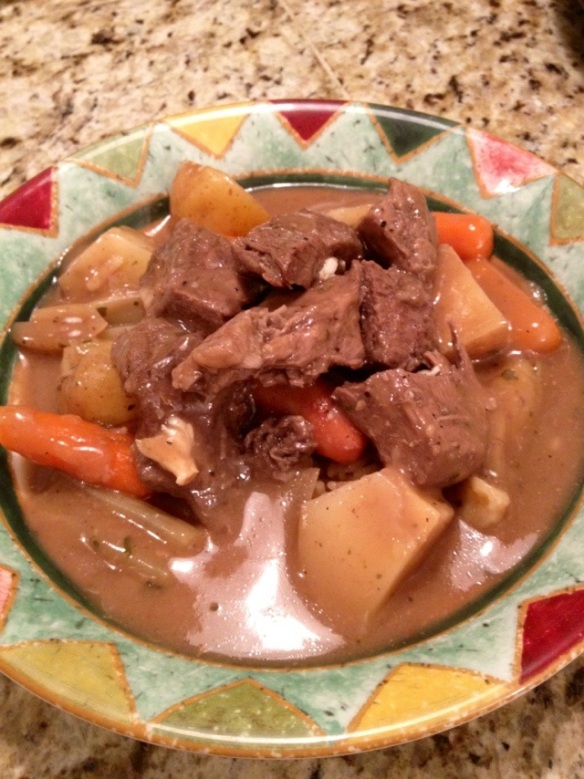
Usually when we go over to Matt’s dad’s we cook, to show our appreciation for letting us stay and cause we like to. But tonight, his poppa had a real nice Croc Pot stew goin’ – and we weren’t gonna mess with dat!

It was a fairly simple stew: beef, potatoes, carrots, and onions in a nice broth. Matt’s dad wasn’t happy with the consistency of the broth, he said it was too thin, so I taught him how to make a slurry of cornstarch and water to thicken it. It was much better. Nice and hearty, which is exactly what you need on a chilly night.

20120321-144607.jpg
Sometimes it’s nice feeling like the kid and having a parent cook for ya!

Afterward, we indulged in some oatmeal chocolate chip cookies.

20120321-144838.jpg
It was supposed to rain in the morning, so we were a little apprehensive about what to do before we had to go back to the city. But when we woke up, it was gorgeous out! Hallelujah!
We grabbed a sammie from Matt’s favorite delicatessen for lunch.

20120321-145202.jpg
I keep it classic with a turkey and cheddar on sourdough with the works, but light mayo. The deli is one of those mom and pop places where the owners know their customers by name and have the art of sandwich making down pat.

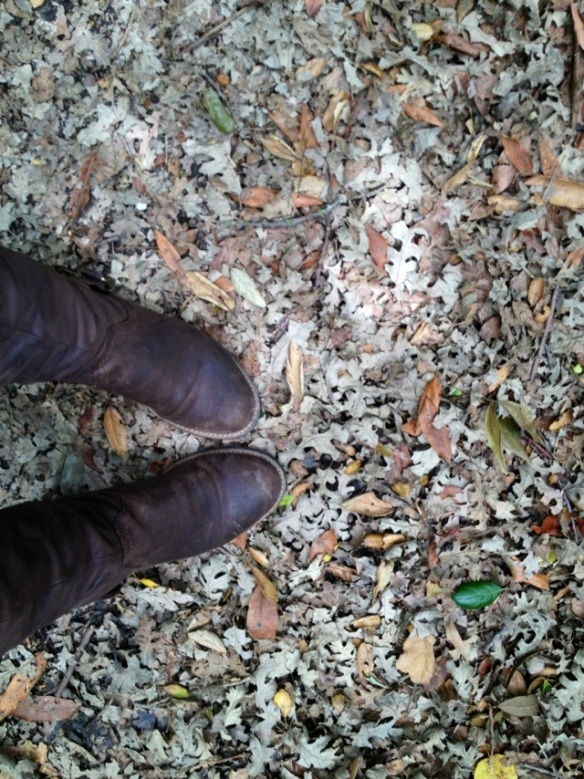
After letting our food settle for a little, Matt and I headed out to go on a hike through some trails behind a monastery. This place is gorgeous, secluded in the woods, the air is fresh and the trees are huge.

20120321-145759.jpg

20120321-145840.jpg

20120321-145901.jpg

On our way back up the trail we came across this statue of the Virgin Mary. Yes, I know we were at a monastery, but it was still such a surprise.

20120321-150051.jpg

20120321-150100.jpg

As I was walking away from the statue, I noticed these wild mushrooms. They were just so pretty and untouched and something you hardly see in the city.

20120321-150328.jpg

Even though we only went back to Matt’s hometown, relaxing and just hanging out was the perfect way to kick off my spring break.

What do you like to do on your days off?